Well, this is my first opportunity to post a blog update after another "Crazy Busy" summer (like they always are!!). The day-job goes bonkers during the summer months and that, combined with the need/desire to squeeze in some trips to visit friends and family, (and, of course, to get to AirVenture) makes for non-stop travel for me in late June through early August each year. This year, I lived out of a suitcase for nearly 5 weeks. I left home on June 30th to start my first work trip in July and didn't get home until Aug 4th (after the work trip that followed my trek to AirVenture 2016). Ugh!!!
Since then, most of my off time in Aug was dedicated to helping my wife take care of her mom's trust/estate things (she passed away this summer). In Sep I got some forward progress on the EAA simulator project and also had to study for (and do) my annual recurrent training/check rides for the day job. So far, in Oct, I have just worked a few trips for the day job and then squeezed in a short trip back to my home in WI. I was there to attend a reunion with the guys that I got commissioned with from the NROTC Unit at the Univ. of WI in Madison (we were year group '86). This Dec it will have been 30 years since I completed college and started my career as an officer in the U.S. Navy. Man, it's amazing how time flies!! I don't feel that old, but I guess I am.
So, anyway, now I can finally catch my breath and hopefully get a few weeks in the shop and get some Prowler stuff done......at least until the Thanksgiving rush starts. The Prowler projects that I currently have hanging fire includes:
-> Find a rubber pad for the 400 ton press;
-> Build a new hydraulic system for the 400 ton press;
-> Finish fabricating parts for Kit #18;
-> Cut remaining wing nose rib dies.
Ahead, in this update:
Prowler Items:
1. AirVenture 2016
2. Ray's Airplane Update
3. Ernest's Prowler Update
4. Francis & Robert's Prowler Update
5. Bryce's Prowler Update
6. Update on George Morse
Non-Prowler Items:
7. EAA Mobile Simulator Work
8. Max's Power Hammer Progress
9. Gantry Crane Completed and Put Away
Prowler Items:
1. Airventure 2016 - This year was another great year at AirVenture. I included AirVenture in the Prowler related items this time, because this year it did have a pretty close connection for me. It was a special AirVenture this year for two reasons: 1) The company that I work for was bringing the first Airbus aircraft assembled in the USA to KOSH (the company named it "Bluesmobile" after Mobile, AL - where the US plant is located); and 2) My dad saw an article about this in a local newspaper. He really wanted to see Bluesmobile was able to join me on the day that it would be at AirVenture. On Wed we made our way to Boeing Plaza and here is a picture of dad sitting in "my" seat:


Here is Ray's favorite airplane - the Bell P39 Airacobra. I'd never before seen one of these aircraft in person, close up. It's a beautiful aircraft:


Believe it or not, I have about 2 hours time in one of these fast movers!!! During my midshipman days I got one flight of .9 hrs in a TA-4 out of NAS Miramar during my NROTC freshman summer training cruise. Later on, during my junior year, I was in Beeville, TX on an aviation training trip and got a 1.0 hr flight in another TA-4 during an ACM training hop!! What a total thrill!! To this day, I've never seen the windscreen of any airplane turn alternately green and blue so many times as I did on that day. Wow!


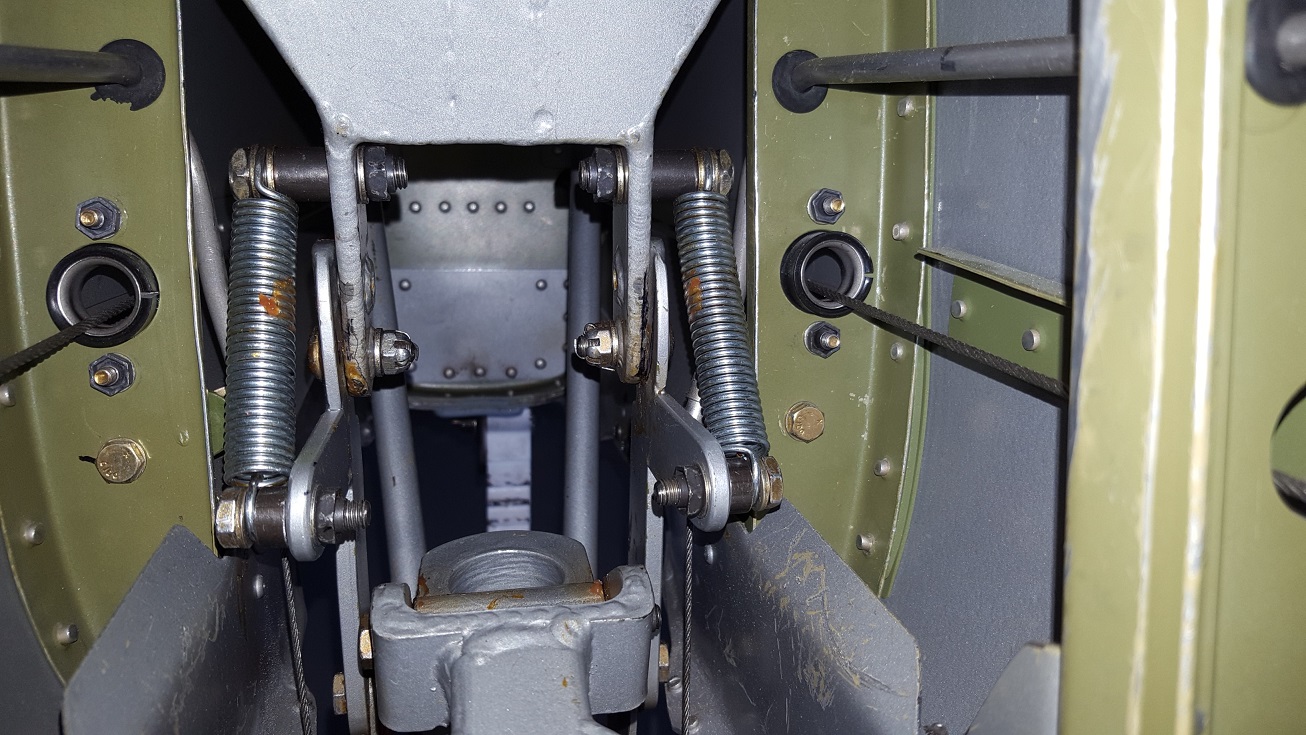
2. Ray's Airplane Update - The Prowler Master is at it again! I got a chance to visit with Ray again on one of my days off in LA between trips. He had just completed modifying the MLG so that the strut extension was a little more limited and keeps the wheels from coming so close to the inner doors. He was afraid of the tires possible catching on the inner doors and causing damage. So, he modified a sleeve in the strut that shortened the extension of the strut by about 3/16". Here's the plane up on jacks for testing and cycling:


With all this work done, Ray asked me if I'd like to try it out! Well... HECK YA!!!! Here is the plane after we got it out of the hangar. Ray took my pic:


Ray, I cannot thank you enough for sharing your airplane with me and giving me the opportunity to experience these taxi tests and engine runs with you!!! It is such an huge motivation for me to keep pushing and working to get the production of this airframe going again.
3. Ernest's Prowler Update - To say that EZ has been on a mission over the past year to get his Prowler flying again would clearly be a huge understatement. I get texts, phone calls and emails from him regularly!! Here is a recent picture with the airplane out for some engine runs:

Rumor has it that I just might be in the right place at the right time in the SEA area on the 31st of OCT and get to witness the re-christening "first flight" of the airplane after all the previously mentioned work has been done. I'm thrilled!! I can't wait to be there and I will report back with much more info and pics on the next update.
Also, I think it's safe to say now, that you might expect to see this airplane at AirVenture 2017!! I will have more details as the year progresses, but I hope to see you all there. Stay tuned!!
4. Francis & Robert's Prowler Update - Clearly the hardest working guy in the Prowler world right now is Francis. He has made some significant progress on their Prowler this year. The past several months Francis has framed out most of the main wing of their Prowler. Here are a few pics he has sent me. Here's the aft outboard wing spar of the LH wing (I think):


Well done! You are doing an excellent job. Especially, working pretty much buy yourself in different country with no one else (with a Prowler) close by to collaborate with. Keep up the awesome work! Thank you for the updates and always supplying me with photos of your progress. I/we all really appreciate it!
5. Bryce's Prowler Update - I have been chatting with Bryce a few times recently about his airplane progress. His new plan is to use one of the engines that he got when he purchased the RW&B airplane and attach a very strong, light and bullet proof reduction gear to it. It is a reduction gear used on airboats, so it is very stout and pretty inexpensive. The trade off is that it does not have provisions for a controllable pitch prop. So, he is going to make due with a fixed pitch prop - for now. He is just eager to get the airplane flying and, for him, this is the most reliable, practical and cost effective way for him to do that at right now.
I think it sounds great. It will be interesting to see the data and information that comes from this. It may give me some good ideas for a future version of the Prowler that has a flat motor, fixed gear and a fixed pitch prop!!
6. Update on George Morse - George turned 89 years old this past Sept! Overall, he is doing very well. However, a few days after his birthday, he was in a pretty bad traffic accident. The accident was not George's fault - a car pulled a U-turn right in front of him as he was coming over a hill doing about 50mph on highway 299 northeast of Redding . He had no time to react and collided with the car. Then, the car went off the left side of the road down a 40 ft embankment. He and his passenger were a little beat up, but both came through it OK. His right leg and hip were very bruised, but he is getting around OK now.
George has been holding onto one last crankshaft that he has for the Rodeck engine blocks that he used to build up for the Prowler and other airplanes. He asked me to take it and hold onto it in the event that I can sell it for him. It came in a dilapidated cardboard box that was not doing a very good job of containing it or protecting it. Also, I figured that if I ever did sell it, I would need to ship it to someone. So, I spent an afternoon making a crate for the crankshaft. Here are some pics of the crankshaft itself:


Non-Prowler Items:
7. EAA Mobile Simulator Work - Last year, I took on a project that came out of the Redding EAA chapter. Specifically, it is the brainchild of Mr. Bill Hill. His idea is to have a flight simulator mounted on a trailer that can be taken to Young Eagles events or any aviation related activities in the California North State.Here is the way it currently looks outside my shop:


Here I am using the CNC mill to machine holes for the six-pack instruments:


8. Max's Power Hammer Progress - Nearly two years ago, I did a bunch of CAD work for a friend to help him build his own version of a Yoder power hammer. He has been consistently working to have the various pieces fabricated. The most recent addition is the shaft tube in the upper arm of the power hammer. Here is the freshly painted upper arm with the new shaft and shaft tube assembly setting in place:


9. Gantry Crane Completed and Put Away - In order to work on the 400 ton press I had to build a gantry crane. I used the crane to take the press apart and, later, re-assemble it. With that job done, it was time to disassemble the gantry crane and get it out of the shop. However, when I started on that job, I discovered that I had not completed several of the steps I needed to be able to store the gantry crane.
So, I spent an afternoon fabricating a cradle to span the A frames that would support one end of the beam in the vertical postion. I drilled holes in the upper spool piece to hold the top end of the beam when the crane was in the "storage" configuration. Last, I added some angle brackets to the lower spool piece that gave me an area to hang the trolley from and allow me to store the trolley and chain hoist with the crane. Here's what it looked like:


Well, that's all I have for this update. I hope to get some things done around here, then get another blog update done soon. Thanks for checking out the blog and following along with what's going on at Prowler Aviation.


